Gear Review: Fischer Outback 68 and Spider 62 Backcountry Skis

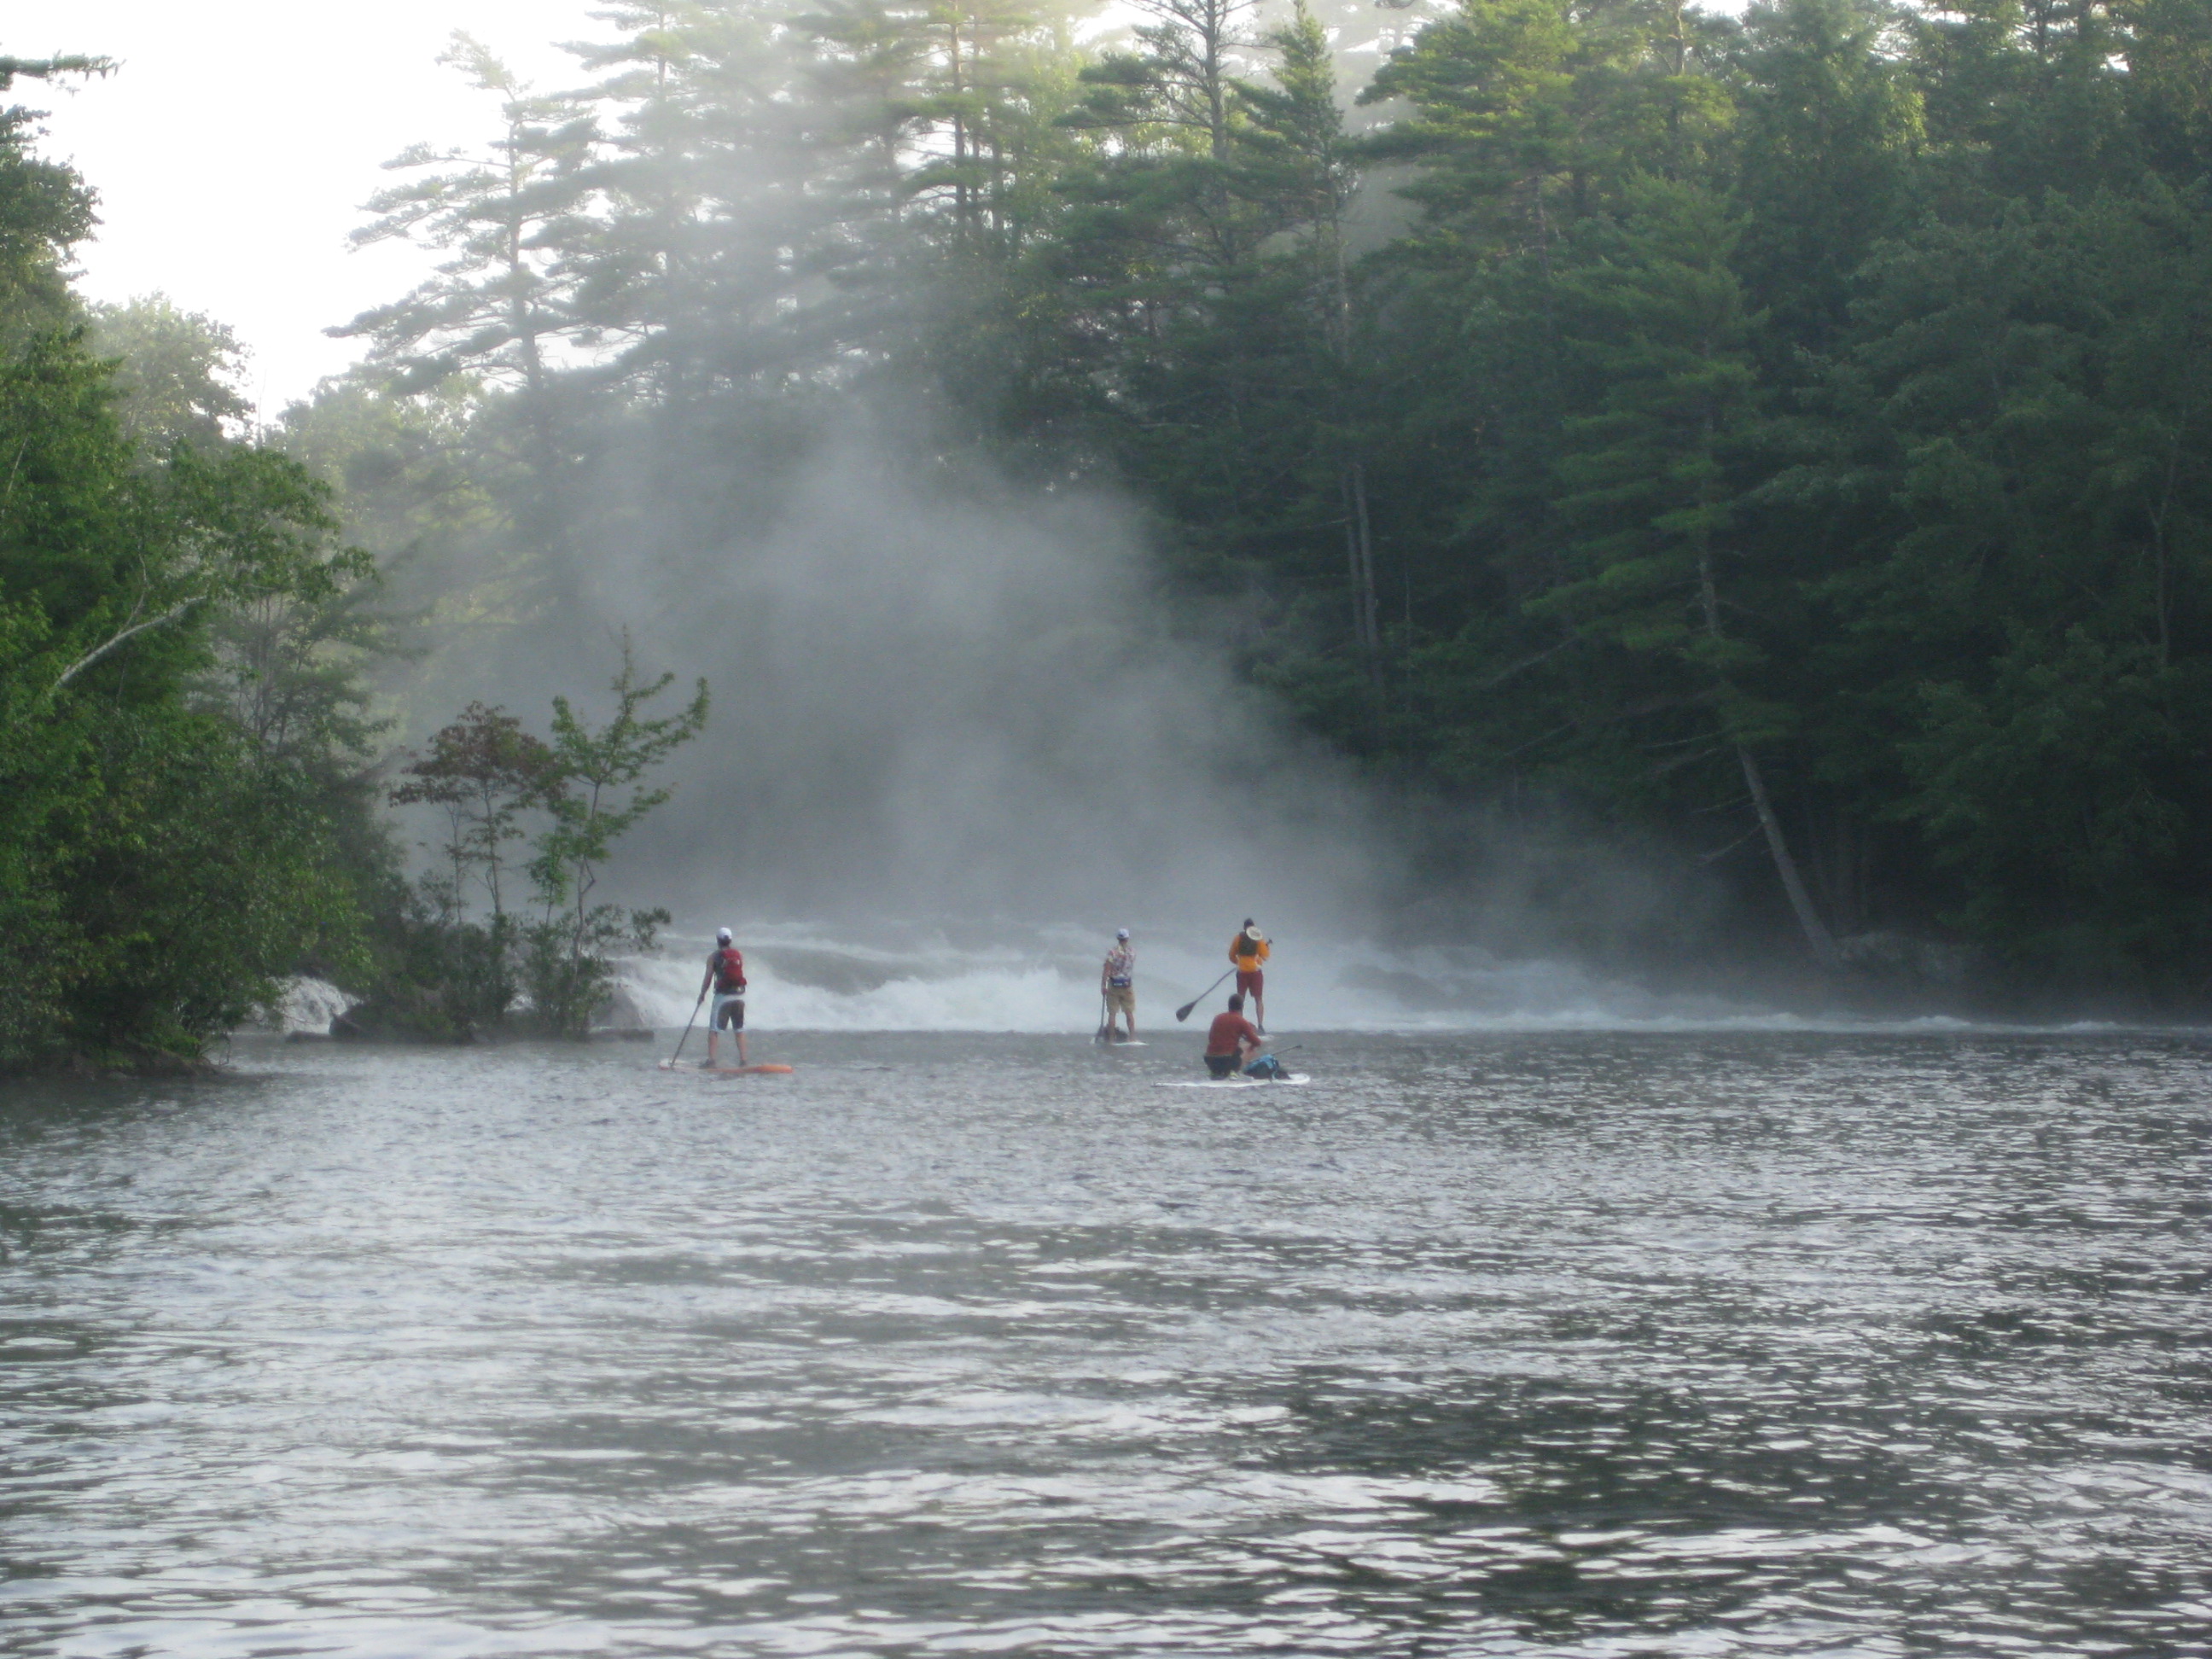
As I’m sure you all know, this has been one of the best snow winters in recent memory. It’s the reason I haven’t posted anything in a while, I’ve been too busy having fun in the white stuff. When the snow is this good, my favorite type of adventure is “backcountry” skiing. This isn’t the type of skiing where I’m skinning up giant mountains and then flying back down them. This is heading out into the nearest patch of woods and hitting the trails, the deeper the snow the better. I’ve been doing it around my home base in Portland and up in the wild of the Carrabassett Valley. It’s the type of skiing anyone can do, all you need is some open space nearby and good snow. The skis reviewed here are each good choices for this type of skiing. At first glance these skis look very similar. But closer inspection reveals the Spider 62 to be a bit narrower. In fact, the names refer to the widths of the skis at their widest. The sidecut of the Outback 68 is 68-59-64, the Spider 62 is 62-52-60. There’s a bit of a shape to them but nothing pronounced.

Fischer Outback 68 Skis

Outback 68

Fischer Spider 62 Skis

Spider 62

I used both skis in similar conditions; deep, beautiful, unconsolidated powder. They share the same type of fish-scale waxless base, the Offtrack Crown.

Fischer Offtrack Crown Waxless Base

Offtrack Crown Waxless Base

Right off the bat I was impressed with the grip of these skis. The Offtrack Crown base gripped the snow easily as I climbed up a short, steep slope. My other backcountry skis would have had trouble not slipping on this hill and I likely would have had to herringbone it. The Spider 62’s didn’t quite have the same grip as the Outback 68’s, on a couple steep climbs I had to herringbone with the Spiders. This is certainly a function of the Spiders being 7 millimeters narrower underfoot, a simple matter of less surface area equaling less grip. This increased grip on the Outback 68 comes at a cost of less speed on the downhills. They also seem to be a bit softer ski than the Spiders, so you drag a little bit more going downhill. Each ski comes with a full-length metal edge that helps with control on downhills, particularly if things are hard-packed and/or icy. Luckily, this winter we haven’t had to deal with conditions like that. I used NNN backcountry touring bindings but you could mount a 75 mm 3-pin system on the Outback 68, the Spider is probably too narrow for a 75 mm system.

The Verdict I loved these skis. They climb great and handled the deep snow very well. Each ski held up well to several long days breaking trail through deep snow. I feel like they would each be appropriate for a more serious endeavor like pulling a sled thru Baxter State Park or carrying a 40 lb. pack on the Catamount Trail in Vermont—both things I have done. The Outback 68 would provide a bit more stability but the Spider is no slouch. If you want the option of being able to ski at a groomed touring center, the Spider 62 is narrow enough to stay in a groomed track. The Outback 68 is a bit too wide. There’s still plenty of snow in the woods so grab some skis and get out there. You wouldn’t go wrong with either of these skis.

Sebago to the Sea on Stand-Up Paddleboards

Since getting two stand-up paddleboards this spring, the idea of paddling the Presumpscot River from Sebago Lake to the sea occupied a space in my mind. It was an itch that needed to be scratched. So at 6:00 a.m. on a crystal clear July morning I found myself with 6 friends scurrying across Route 35 in Windham, Maine with inflatable SUP in hand. We chose to launch in the Eel Weir Canal, a flat water canal that connects Sebago Lake Basin to the the Presumpscot. This allowed us to do an end run around the unrunnable whitewater that makes up the first mile or so of the Presumpscot River.

The first portage. Click to enlarge.

The first portage after Eel Weir Canal. Click to enlarge.

It’s roughly 25 miles on the Presumpscot River from Sebago Lake Basin to tidewater. It involves 9 portages around 8 dams and one waterfall. Presumpscot means “many falls” in the Abanaki language. Unfortunately, most of these falls are under either dams or the slow water impoundments created by the dams. Despite these impediments, the river can feel remote and wild……….much of the time it’s hard to tell you’re close to the largest city in Maine.


Falls dumping into North Gorham Pond. Click to enlarge.

Falls dumping into North Gorham Pond. Click to enlarge.

Heading in I had no idea how long it would take to pull this trip off.  There was a good current but also plenty of slow-moving water. Soon it became apparent we would have plenty of time as we covered the first few miles with ease. The portages were anywhere from a quarter mile to three-quarter mile in length, which by the end of the day adds up to a lot of SUP hauling. All were well-marked and easy to follow except one. More on that later. It helped that I scouted the portages ahead of time to avoid snafus on paddling day.

Power station at Gambo Falls. Click to enlarge.

Power station at Gambo Falls. Click to enlarge.

We made our way through Windham and Gorham, finally arriving in Westbrook. This is where it got a little interesting. The first Westbrook portage was the Saccarappa Dam (or as I like to call it, Sack-a-Crappa). This was a half mile right through lovely downtown Westbrook. The way people were looking at us you’d think nobody had ever walked through town carrying SUPs before. Well, come to think of it, they probably hadn’t. We stopped for some very mediocre Mexican food and a voluminous 27 oz. beer that was included with the tacos. In fact, I’m sure the beer’s main intent was to take our attention off the lousy tacos.

Portaging through downtown Westbrook. Click to enlarge.

Portaging through downtown Westbrook. Click to enlarge.

A short paddle through Westbrook brought us to the mother of all portages: Sappi’s Cumberland Mills Dam, a solid three-quarter mile slog on pavement and then a bushwhack through a small jungle. I had visited it a few days earlier and talked to the gentleman in the guard booth, who confidently assured me the portage was “over there.” They even had it indicated on a map. In hindsight, it was the confidence of a man well-versed in the art of bullshitting unsuspecting visitors. Since it was pouring rain I didn’t bother looking too closely, figuring if they had it on a map then it had to be a good portage. When we had to do it for real, however, it proved to be an almost impenetrable thicket of thorns and dense underbrush. After crashing through quagmire of bushes and mud, the final put-in required an otter slide down a steep bank and into the water. Other than the strainers (potentially deadly trees or fallen branches that can trap a paddler) lining the river, it was now a clear run in to Presumpscot Falls, the last portage.

Playing in the fast water below the falls.

Playing in the fast water below the falls.

Presumpscot Falls

Presumpscot Falls

Once below Presumpscot Falls we were in tidewater, making the trip official. Total time was about 11 hours, although we paddled quite leisurely and took a nice long lunch. I bet we could take it down to 8 hours or so with some serious paddling and no lousy tacos. We’ll bring our own beer next time.


SKILL LEVEL/EXPERIENCE: If you are thinking about doing this trip, keep the following in mind. Advanced skills in stand-up paddle boarding are not an absolute requirement. You should, however, at the least be competent in handling a canoe or kayak in moving water. This means being able to avoid obstacles like rocks and submerged tress, avoiding strainers, maneuvering in the occasional bit of fast water and knowing the basic paddle strokes. You should also be reasonably fit as it involves a long day on your feet and a few miles of carrying your board and gear over some rough portages. If you’re a couch potato more accustomed to grabbing a bag of chips than a paddle, you might want to work your way up to a trip like this.

GEAR: With so many portages it was essential to go light. I carried a small dry bag with food, water and a little extra clothing. Westbrook was the first convenient re-stocking spot but that was about 75% into the trip so bringing plenty of food and water was essential. Rounding out the kit was a lightweight PFD (NRS Ninja, PFDs are required by law) and a Werner Carve SUP paddle. A couple guys used inflatable PFDs—the NRS Big Kahuna—which are even lighter. My SUP is an NRS Earl 4 inflatable, weighing in at only 21 lb. Inflatables are certainly not the fastest boards in the world but with the potential of rough portages on rocks I didn’t want to take the chance of smashing my nice touring SUP. The Earl is tough and can easily handle a few bounces off rocks and hard beachings. Water level was high for mid-July so the current easily negated the inherent slowness of an inflatable SUP. Finally, we all wore shoes or sandals that were comfortable to walk in. I like to paddle barefoot but I brought along a pair of closed-toe Keen sandals for the portages.


Welcome to Backyard to Backcountry Adventures

The goal of this blog is quite simple: to share stories of outdoor adventures that most people are capable of doing themselves. They usually take place in Maine, but occasionally we’ll travel out of state or even out of the country. I hope to pass along the fun, freedom and camaraderie that are part of every good adventure. Along the way, I’ll share advice and tips to help you get the most of your time outside. I don’t consider myself an expert about everything but I have spent a lot of time outside getting after it with a lot of awesome people.

From time to time, I will publish reviews of the gear I use. But this isn’t a gear site. If you’re looking for a review of the latest waterproof iPhone case you’re advised to look elsewhere. But I will intermittently let you know what I think about the tents, stand-up paddleboards, fly rods, running shoes and other gear I use.

I will also talk about the gear used for each trip and the skill level required. This will let you use this blog as a resource for fun adventures in Maine. I try to keep on the economical side of things. It drives me crazy when a gear site puts together a gear list for a simple activity like trail running and it costs about $500. You don’t need to go broke to have fun outdoors.

Millie

Millie